목표
쿠버네티스 + 젠킨스 설치해보기
예제 따라 진행
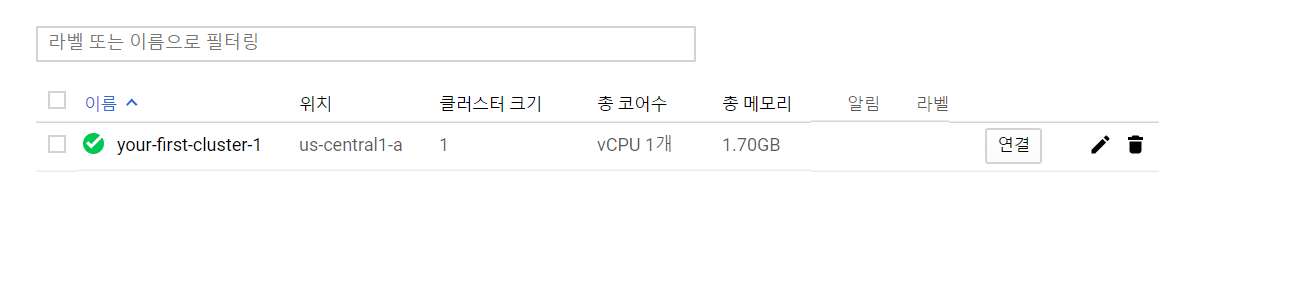
1. Kubernetes 클러스터 만들기
GCP에서 쉽게 GUI로 클러스터 만들기 가능
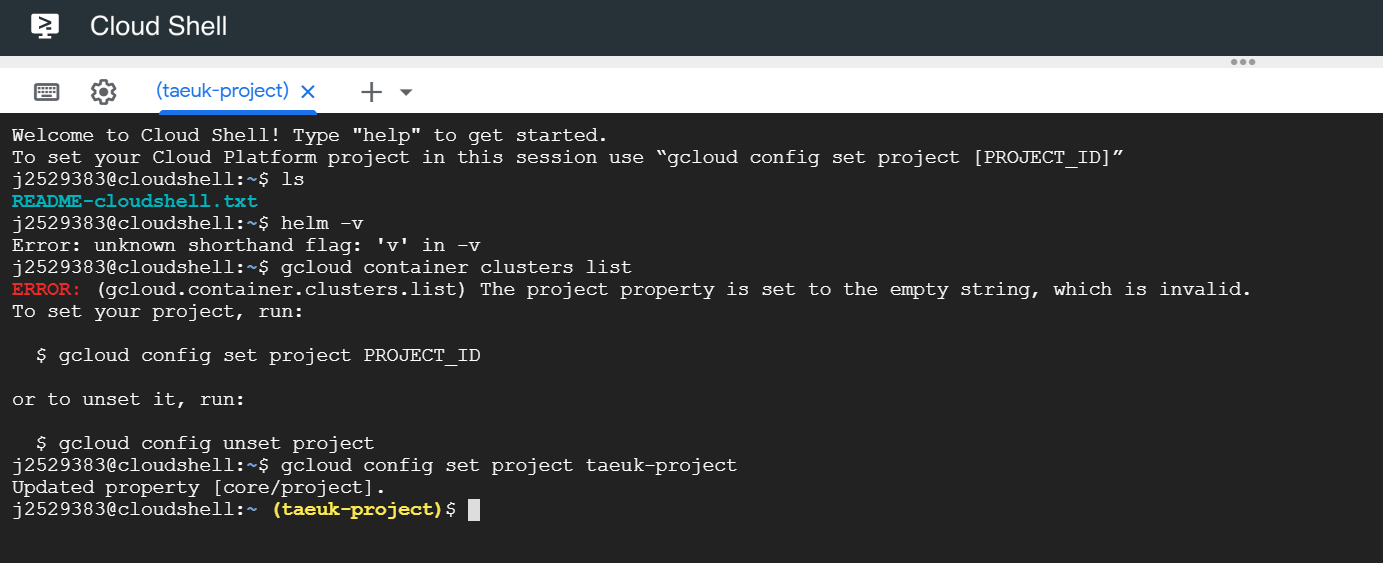
2. cloud shell 활성화
윈도우에서 진행하기에 어려움이 많아, gcp에서 제공하는 cloud shell을 사용하여 진행
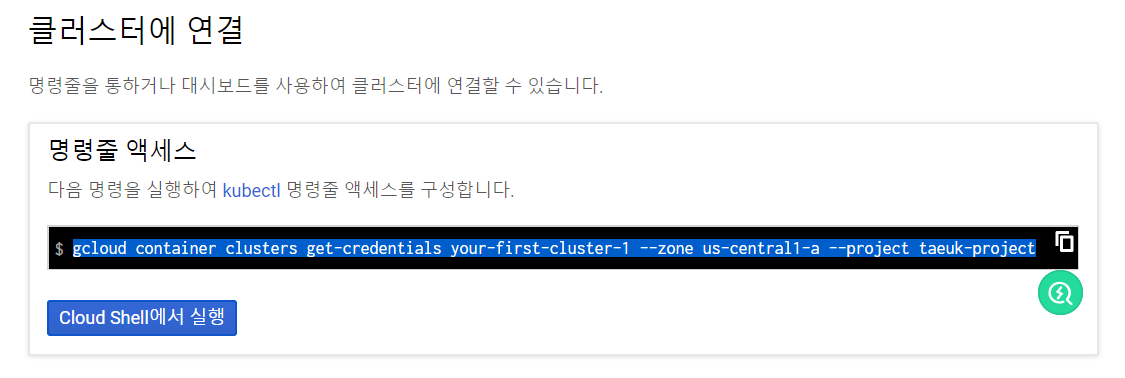
항상 연결 명령어와 gcloud components update를 이용하여 최신 동기화할 것
config
1
| gcloud container clusters get-credentials your-first-cluster-1 --zone us-central1-a --project taeuk-project
|
1
| git clone https://github.com/GoogleCloudPlatform/continuous-deployment-on-kubernetes.git
|

3. 클러스터 실행 확인 (확인할 것!)
1
2
3
4
5
|
gcloud container clusters list
kubectl cluster-info
|
4. Helm 설치
Helm 바이너리 파일 다운로드
1
| wget https://storage.googleapis.com/kubernetes-helm/helm-v2.14.1-linux-amd64.tar.gz
|
압축풀기
1
2
| tar zxfv helm-v2.14.1-linux-amd64.tar.gz
cp linux-amd64/helm .
|
젠킨스 클러스터 관리자 추가
1
2
| kubectl create clusterrolebinding cluster-admin-binding --clusterrole=cluster-admin \
--user=$(gcloud config get-value account)
|
서버 Tiller에 cluster-admin 역할 부여
1
2
3
| kubectl create serviceaccount tiller --namespace kube-system
kubectl create clusterrolebinding tiller-admin-binding --clusterrole=cluster-admin \
--serviceaccount=kube-system:tiller
|
Helm 초기화 & 업데이트
1
2
| ./helm init --service-account=tiller
./helm repo update
|
설치 확인
5. Jenkins 설치
Helm을 이용하여 설치
1
| ./helm install -n cd stable/jenkins -f jenkins/values.yaml --version 1.2.2 --wait
|
실행 확인
Jenkins UI 포트 설정(8080 포트로 연결)
1
2
3
| export POD_NAME=$(kubectl get pods --namespace default -l "app.kubernetes.io/component=jenkins-master" -l "app.kubernetes.io/instance=cd" -o jsonpath="{.items[0].metadata.name}")
kubectl port-forward $POD_NAME 8080:8080 >> /dev/null &
|
Jenkins 서비스 생성 확인

Jenkins 연결
관리자 비밀번호 검색
1
| printf $(kubectl get secret cd-jenkins -o jsonpath="{.data.jenkins-admin-password}" | base64 --decode);echo
|
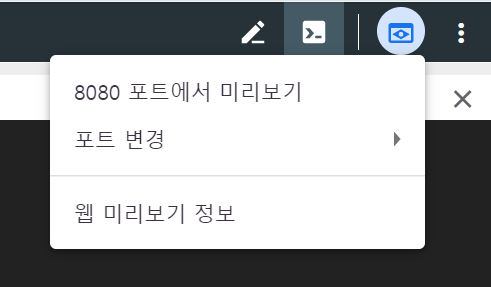
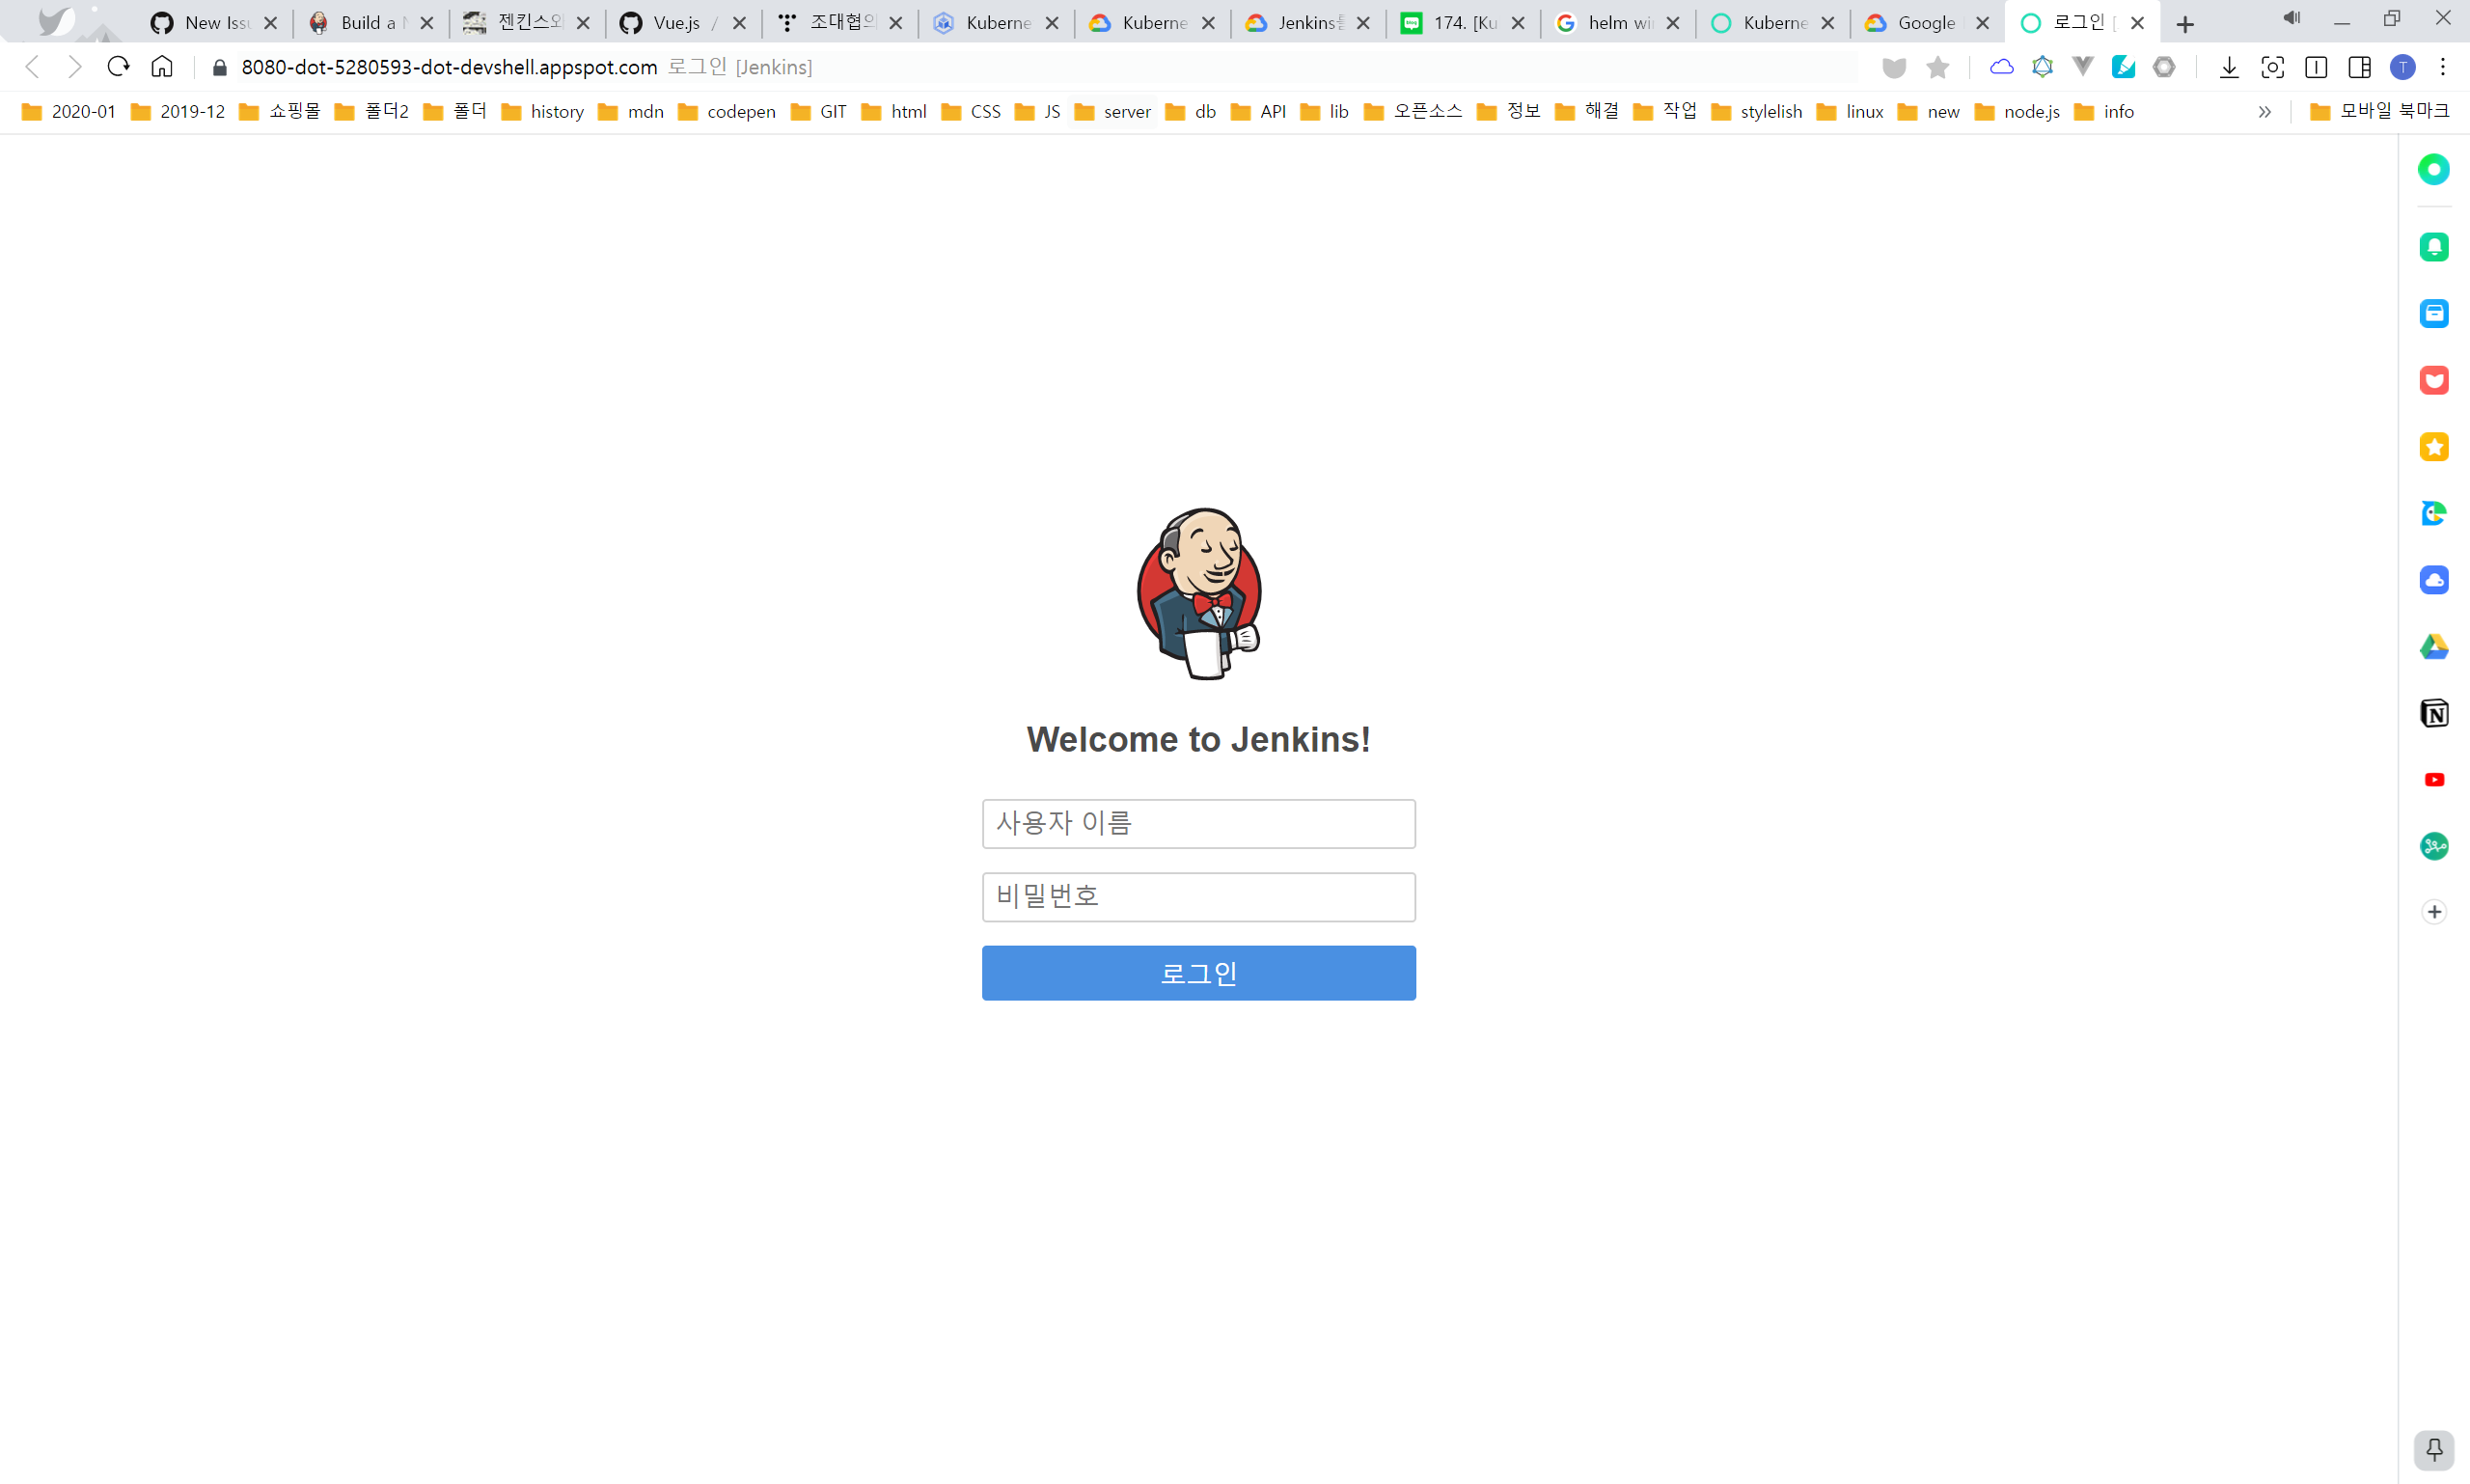
웹 미리보기를 통해, 젠킨스 출력 확인
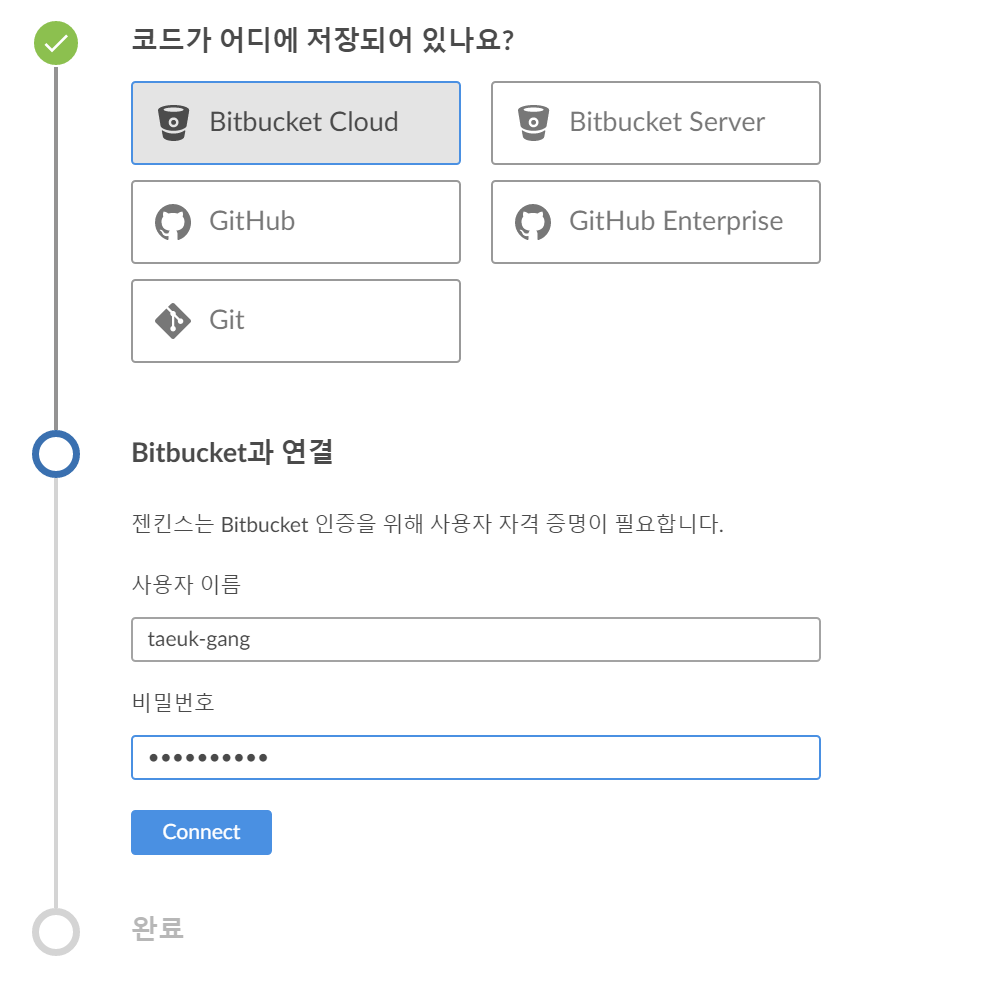
6. Jenkins + Bitbucket 연결
1. 블루오션 접속 후, 파이프라인 생성 버튼 클릭
2. 소스관리를 BitBucket으로 설정 후 연결
7. JenkinsFile 작성
Secret 생성
https://arisu1000.tistory.com/27844 이 곳 참고하여 작성
JenkinsFile을 작성하기에 앞서, docker login 커맨드를 사용하기 위해 username과 userpassword를 쿠버네티스 시크릿으로 생성해줘야 한다.
1
| kubectl create secret generic docker-hub-password --from-literal DOCKER_HUB_PASSWORD='<비밀번호>'
|
Secret 생성 확인
1
| kubectl get secret user-pass-secret -o yaml
|
원래 값으로 확인하는 방법
1
| echo <bash64코드> | base64 --decode
|
JenkinsFile 작성
1
2
3
4
5
6
7
8
9
10
11
12
13
14
15
16
17
18
19
20
21
22
23
24
25
26
27
28
29
30
31
32
33
34
35
36
37
| podTemplate(
label: 'mypod',
volumes: [
emptyDirVolume(mountPath: '/etc/gitrepo', memory: false),
hostPathVolume(mountPath: '/var/run/docker.sock', hostPath: '/var/run/docker.sock')
],
containers:
[
containerTemplate(name: 'git', image: 'alpine/git', ttyEnabled: true, command: 'cat'),
containerTemplate(name: 'docker', image: 'docker', command: 'cat', ttyEnabled: true,
envVars: [secretEnvVar(key: 'DOCKER_HUB_PASSWORD', secretName: 'docker-hub-password', secretKey: 'DOCKER_HUB_PASSWORD')]
),
containerTemplate(name: 'node', image: 'node:10-alpine', command: 'cat', ttyEnabled: true)
]
)
{
node('mypod') {
stage('Clone repository') {
container('git') {
sh 'git clone -b master https://taeuk-gang@bitbucket.org/taeuk-gang/vue-template.git /etc/gitrepo'
}
}
stage('Unit Test source codes') {
container('node') {
sh 'cd /etc/gitrepo && npm install'
sh 'cd /etc/gitrepo && npm run test:unit'
}
}
stage('Build and push docker image'){
container('docker') {
sh 'docker login -u kangtaeuk -p $DOCKER_HUB_PASSWORD'
sh 'docker build /etc/gitrepo/ -t kangtaeuk/vuepwa --no-cache'
sh 'docker push kangtaeuk/vuepwa'
}
}
}
}
|
CronJob 설정

해당 프로젝트 설정으로 들어가 10분마다 빌드되게 구성
어째서인지 적용이 안된다.
그냥 Jenkinsfile에 추가해주자
1
2
3
| properties([
pipelineTriggers([cron('H/15 * * * *')]),
])
|
전체 Jenkinsfile
1
2
3
4
5
6
7
8
9
10
11
12
13
14
15
16
17
18
19
20
21
22
23
24
25
26
27
28
29
30
31
32
33
34
35
36
37
38
39
40
41
| properties([
pipelineTriggers([cron('H/15 * * * *')]),
])
podTemplate(
    label: 'mypod',
    volumes: [
        emptyDirVolume(mountPath: '/etc/gitrepo', memory: false),
        hostPathVolume(mountPath: '/var/run/docker.sock', hostPath: '/var/run/docker.sock')
    ],
    containers:
    [
        containerTemplate(name: 'git', image: 'alpine/git', ttyEnabled: true, command: 'cat'),
        containerTemplate(name: 'docker', image: 'docker', command: 'cat', ttyEnabled: true,
            envVars: [secretEnvVar(key: 'DOCKER_HUB_PASSWORD', secretName: 'docker-hub-password', secretKey: 'DOCKER_HUB_PASSWORD')]
        ),
        containerTemplate(name: 'node', image: 'node:10-alpine', command: 'cat', ttyEnabled: true)
    ]
)
{
    node('mypod') {
        stage('Clone repository') {
            container('git') {
                sh 'git clone -b master https://taeuk-gang@bitbucket.org/taeuk-gang/vue-template.git /etc/gitrepo'
            }
        }
        stage('Unit Test source codes') {
            container('node') {
                sh 'cd /etc/gitrepo && npm install'
                sh 'cd /etc/gitrepo && npm run test:unit'
            }
        }
        stage('Build and push docker image'){
            container('docker') {
                sh 'docker login -u kangtaeuk -p $DOCKER_HUB_PASSWORD'
                sh 'docker build /etc/gitrepo/ -t kangtaeuk/vuepwa --no-cache'
                sh 'docker push kangtaeuk/vuepwa'
            }
        }
    }
}
|
끝
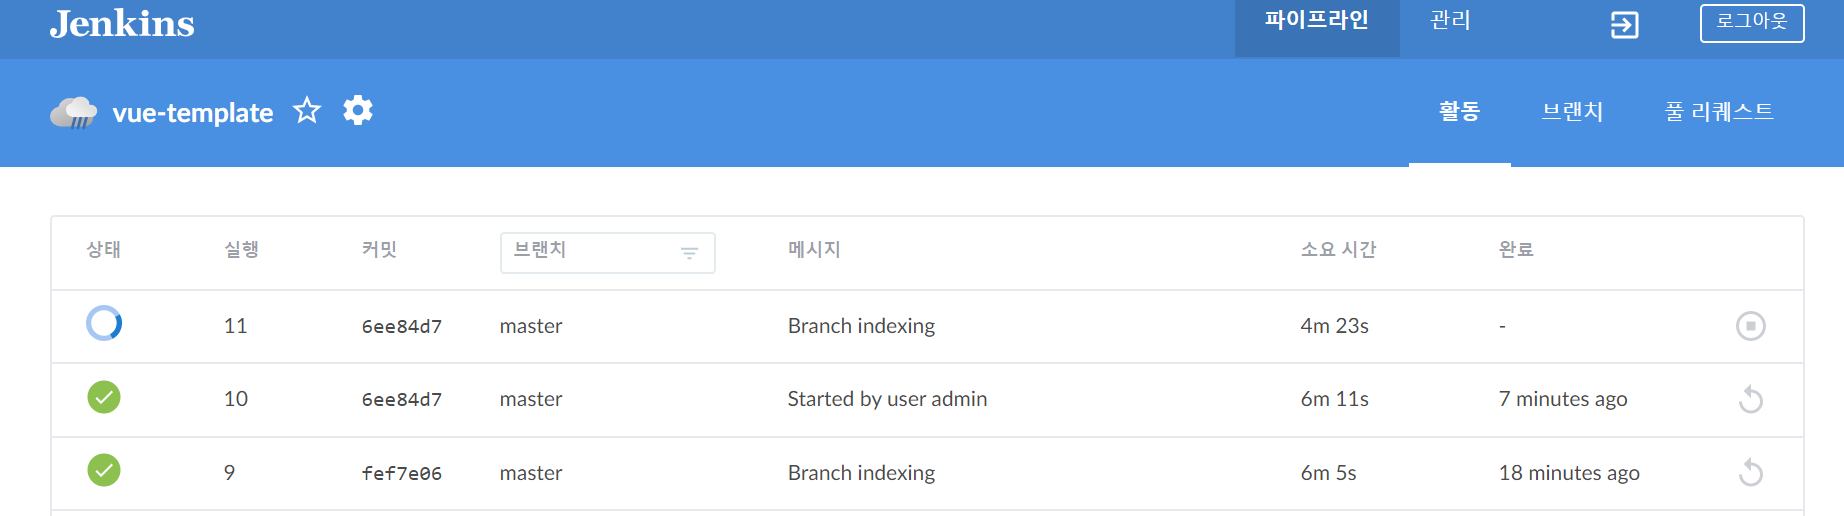
지속적으로 테스트 및 배포를 하는 것을 알 수 있다.
참고링크
Jenkins를 사용하여 Google Kubernetes Engine에 지속적으로 배포
Kubernetes Engine에서 Jenkins 사용
Google Kubernetes Engine에서 Jenkins 설정
174. [Kubernetes] 쿠버네티스에서 Jenkins CI와 Github Webhook를 이용한 도커 이미지 빌드 파이프라인 구축